To remove a shower handle without screws, use a screwdriver to pry off the decorative cap, revealing the set screw underneath. Unscrew the hard screw and gently pull the handle off the valve stem.
Sometimes, shower handles are designed to be secured using other mechanisms instead of screws. The absence of visible screws makes it look impossible, but it can be achieved with a few simple steps.
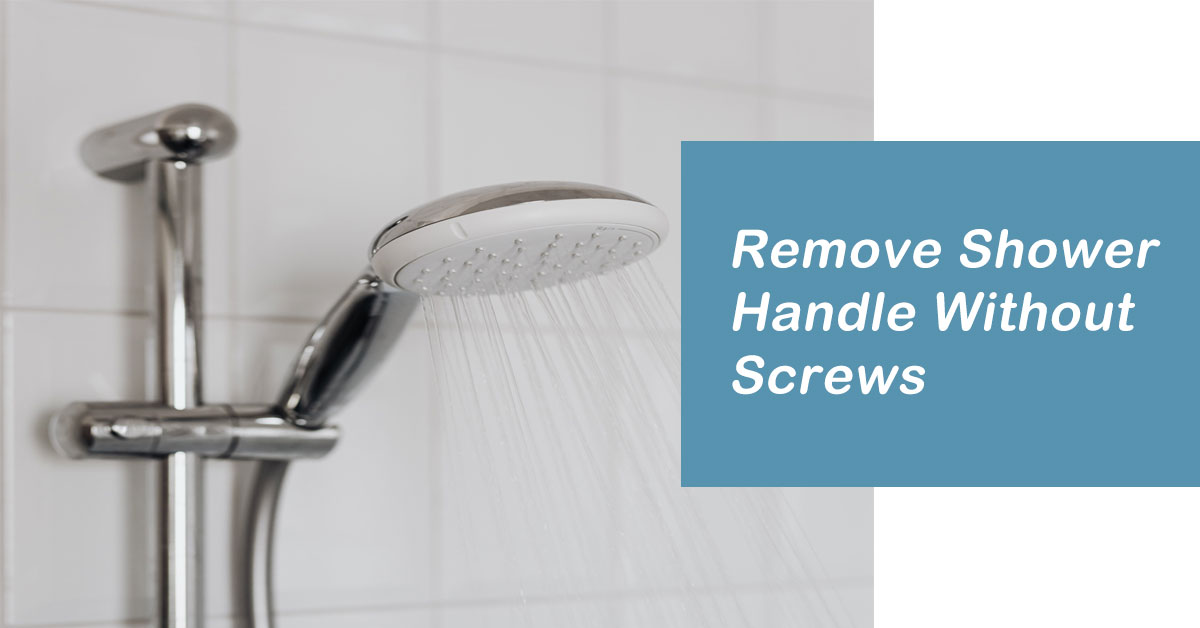
We’ll guide you through removing a shower handle without screws, giving you the knowledge and confidence to complete the task yourself. Let’s dive in.
Before You Begin: Safety Precautions
When removing a shower handle without screws, it’s essential to prioritize your safety. Here are a few precautions to keep in mind:
- Shut off the water supply: Before starting the process, turn off the water supply to avoid any accidental leaks or damage.
- Wear protective gear: Wear gloves and safety goggles to protect your hands and eyes from potential harm.
- Use the right tools: Make sure you have the necessary tools, such as pliers, wrenches, and screwdrivers, for a smooth and safe removal.
- Follow manufacturer’s instructions: If available, refer to the manufacturer’s manual or website for instructions on removing the shower handle.
- Work in a well-lit area: Adequate lighting helps you see and handle the parts more effectively, reducing the risk of accidents.
By following these safety precautions, you can ensure a safe work environment while removing your shower handle without screws.
Assessing the Shower Handle Assembly
You need to assess the assembly to remove a shower handle without screws. Start by identifying the type of shower handle you have. Many modern shower handles use screwless installation mechanisms, which require a different approach for removal.
Identifying the Type of Shower Handle
Look for any visible screws or clips on the shower handle. If you see none, it is likely a screwless handle. Screwless handles often have a hidden set screw or a push-button release mechanism.
Check for any decorative caps or buttons that can be removed to reveal these hidden mechanisms.
Understanding Screwless Installation Mechanisms
Screwless installation mechanisms can vary depending on the manufacturer and model of your shower handle. Some common types include twist-and-pull handles, lever handles with a hidden set screw, or handles with release buttons or tabs.
Consult the manufacturer’s instructions or use online resources to find specific information for your shower handle.
Tools And Materials You’ll Need
Removing a shower handle without screws can be tricky, but it can be done quickly with the right tools and materials. Here are the essential tools you’ll need:
- Adjustable wrench
- Flat-headed screwdriver
- Phillips-head screwdriver
- Allen wrench set
- Needle-nose pliers
- Masking tape
- Rubber mallet
| Handle Type | Optional Materials |
|---|---|
| Knob-style handle | Adhesive remover |
| Lever-style handle | Hacksaw blade (if needed to cut the handle) |
| Push-pull handle | No additional materials required |
With these tools and materials ready, you’ll be equipped to remove shower handles of various types without screws hassle-free. Take safety precautions, such as turning off the water supply before starting work.
How to Remove a Push-on Shower Handle
To remove a push-on shower handle without any screws, you can easily follow the step-by-step instructions on safely detaching the handle, ensuring a successful removal.
Step 1: Locating and Inspecting the Cap or Button
Start by identifying the cap or button on the shower handle. Examine it closely to see if it can be easily pried or popped off.
Some caps may be more securely attached, so use a small flathead screwdriver or a similar tool to gently lift or remove the lid.
Step 2: Removing the Cap to Reveal the Mechanism
You will see the underlying mechanism once the cap or button is removed. It may vary depending on the shower handle model.
It could be a screw or another type of fastener. Take a moment to inspect the mechanism and prepare for the next step.
Step 3: Detaching the Handle by Applying Firm Pressure
To remove the shower handle, apply firm pressure and pull it straight out. If it doesn’t come off quickly, you may need to wiggle it gently or carefully use a pair of pliers to grip and pull it. Be cautious not to damage the handle or the surrounding area while doing so.
How to Remove a Twist-off Shower Handle
If you have a twist-off shower handle, removing it is slightly different.
Step 1: Locate the Handle Base
First, locate the small hole or slot on the handle’s base.
Step 2: Use a Strap Wrench to Loosen the Handle’s Grip
To remove the twist-off handle, you will need a strap wrench. Insert the strap through the hole or slot and tightly wrap it around the handle.
Secure the strap by locking it and using the wrench to turn counterclockwise. It will gradually loosen the handle’s grip and make removing it easier.
Step 3: Remove the Handle
Once the handle is loose, turn it counterclockwise until it comes off ultimately. If it doesn’t come off quickly, gently pull it off with your hands or a flathead screwdriver.
How to Remove an Adhesive Shower Handle
If you are looking to remove a shower handle without screws, one method you can use is to remove an adhesive shower handle. Here is a step-by-step guide on how to do it:
Step 1: Determining the Location and Type of Adhesive
Carefully inspect the handle to determine where the adhesive is located. It’s also essential to understand the adhesive used, which will impact the removal process.
Step 2: Applying Heat to Weaken the Adhesive Bond
Using a hairdryer or heat gun, apply heat to the adhesive area. It will help to weaken the bond and make it easier to remove the handle.
Step 3: Peeling off the Adhesive and Remove the Handle
Using a plastic scraper or your fingers, gently peel off the adhesive from the handle. Once the glue is removed, you can remove the handle from the shower.
Removing an adhesive shower handle can be more challenging than handles with screws. However, by following these steps and being cautious throughout the process, you can remove the handle without causing any damage.
Common Challenges and Solutions
If you are facing the challenge of removing a shower handle without screws, there can be a few common issues that you might encounter. The handle may be stuck or stubborn to remove due to various reasons.
In such cases, it is crucial to take some troubleshooting steps to avoid causing further damage. Some components of the handle might be damaged or broken, making removing it difficult.
In addition, rust or corrosion can further complicate the situation, as it can cause the handle to stick or seize up.
Shower Handle Maintenance Tips
Post-removal maintenance is essential to ensure the longevity of your shower handle. Regularly clean and lubricate the handle to prevent build-up and ensure smooth operation.
Look for any signs of wear or damage and address them promptly. Following these steps and maintaining your shower handle, you can successfully remove and reinstall it without screws.
- When removing the handle, be gentle to avoid damaging the stem or other components.
- Take photos or note the disassembly process to help with reinstallation.
- If you encounter any difficulties, consult a professional plumber for assistance.
- When removing the handle, be gentle to avoid damaging the stem or other components.
- Take photos or note the disassembly process to help with reinstallation.
- If you encounter any difficulties, consult a professional plumber for assistance.
People Also Ask
How do I remove a handle from a single-handle shower faucet with no set screws?
Remove a handle from a single-handle shower faucet with no set screws:
- Find the small slot or hole on the handle base.
- Insert a flathead screwdriver or an Allen wrench into the slot or hole.
- Use the screwdriver or wrench to unscrew the handle counterclockwise. Once loose, carefully pull the handle off.
- Use a rubber grip or strap wrench for better leverage if necessary.
How do you remove a faucet handle without visible screws?
To remove a faucet handle without visible screws:
- Look for a small cap or button at the base of the handle.
- Use a flathead screwdriver or your fingers to pry off the cap and reveal the hidden screw.
- Unscrew it and gently pull off the handle to remove it.
How do you remove a shower faceplate without screws?
To remove a shower faceplate without screws, gently pry it off with a flathead screwdriver or a putty knife.
Insert the tool between the faceplate and the wall, then apply gentle pressure to release the adhesive or clips holding it in place. Be careful not to damage the surrounding area.
How do you remove a stubborn shower handle?
To remove a stubborn shower handle:
- Start by turning off the water supply.
- Use a screwdriver or Allen wrench (depending on the handle type) to remove the screws holding the handle in place.
- If the handle is stuck, gently apply pressure while twisting, and use a lubricant like WD-40.
How do you remove a shower handle without screws?
To remove a shower handle without screws:
- Look for a small button or cap on the handle.
- Use a flathead screwdriver to pry it open and reveal the hidden screw underneath.
- Unscrew it, and gently pull the handle off.
Last Notes
Removing a shower handle without screws can be accomplished with simple steps. You can effortlessly detach the handle using a screwdriver or Allen wrench to locate and remove the hidden set screw.
Don’t hesitate to explore alternative methods, such as lever handles or sliding covers, if your shower handle doesn’t have visible screws. With these techniques, you can easily update your shower without any hassle.